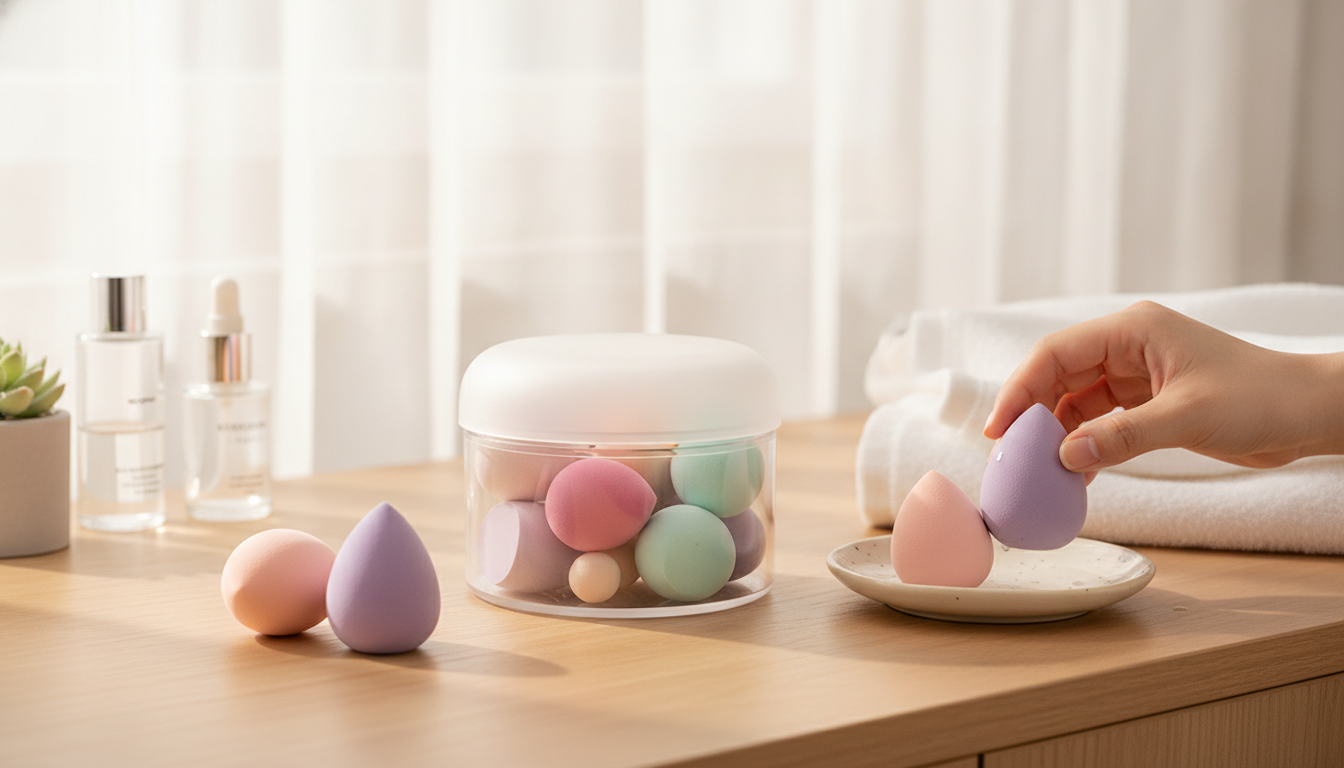
A good sponge can make foundation look smoother, concealer sit lighter, and powder melt in without streaks. A multi-sponge set is especially useful when you want different shapes for different steps (base, brightening, setting, and quick touch-ups). This versatile set pairs multiple sponge shapes with a storage box to keep tools protected between uses—particularly helpful for travel, vanity organization, and keeping damp sponges separated from everything else.
The biggest benefit of a set is flexibility: you can reach for the right shape instead of forcing one sponge to do everything.
Having more than one sponge also helps avoid muddy color mixing—especially if you use cream blush or bronzer on top of foundation.
Sponge technique matters as much as the sponge itself. Most unevenness comes from dragging product across the skin instead of pressing it in with small, controlled taps.
| Sponge area | Best for | Technique | Quick care tip |
|---|---|---|---|
| Rounded side | Foundation, tinted moisturizer | Bounce and press; avoid dragging | Rinse promptly after heavy liquids |
| Pointed tip | Concealer, precise blending | Small tapping motions | Clean tip thoroughly to prevent buildup |
| Flat edge | Powder press, contour edges | Pat/press for control | Let dry fully before storing |
| Whole sponge | Blush/bronzer creams | Tap to diffuse edges | Use separate sponges to avoid muddy color mixing |
Storage is the unglamorous detail that can make a real difference in how your tools perform over time. A dedicated box turns your sponge from a loose item rolling around your makeup bag into something that feels more protected and intentional.
If you regularly apply makeup on the go (work bag, gym bag, carry-on), the box can also reduce those “mystery lint” moments that show up on damp tools.
A sponge is one of the easiest ways to fine-tune coverage without changing your foundation. It’s also a gentle way to work around texture—so long as you use a light hand and build in thin layers.
For the most natural finish, try applying foundation with the rounded side, then flipping to a cleaner area to softly “bounce” over edges where product tends to collect (around the nose and smile lines).
Sponges sit close to the skin, and they can hold onto product, oil, and moisture—so a consistent cleaning routine isn’t just about appearance. The American Academy of Dermatology Association recommends keeping makeup tools clean to help reduce buildup and irritation risk; see their guidance here: How to keep your makeup brushes clean.
For acne-prone routines, it can also help to keep the rest of your skincare consistent. The AAD’s acne self-care tips are a solid reference point: Acne self-care.
Damp use usually gives a softer, more natural finish and can help prevent heavy buildup, while dry use can add coverage with thicker formulas. If you dampen the sponge, fully saturate it first, then squeeze out excess water so it feels only slightly springy—not dripping.
Clean sponges as often as possible when used with liquids or creams (ideally after each use, or at minimum very regularly) and always let them dry completely before storage. Replace when you notice tearing, odor, a rough texture, or staining that never improves, since performance and hygiene both drop off.
Let the sponge air dry as much as possible before closing it in the box to reduce trapped moisture and odor. Keeping the box clean and dry also helps prevent residue transfer back onto freshly washed sponges.







Leave a comment
You must be logged in to post a comment.